
The box joined a negotiation, and the negotiation is failing
Every HDMI link is a handshake: source and display agree on resolution, refresh rate, dynamic range and HDCP copy protection. A sync box must pass all of it through faithfully, and three things break: the physical layer (a cable marginal at the bandwidth), the format layer (a mode the box cannot parse), or the handshake sequence itself (devices powering up in an order that leaves HDCP unresolved — the classic sudden black screen with sound).
The method is elimination with one variable at a time. Prove the source and TV happy without the box; reinstate the box with routing verified; then swap cables individually; then walk formats down to a baseline everyone speaks and back up to find the ceiling. Random simultaneous changes are how these faults survive whole evenings.
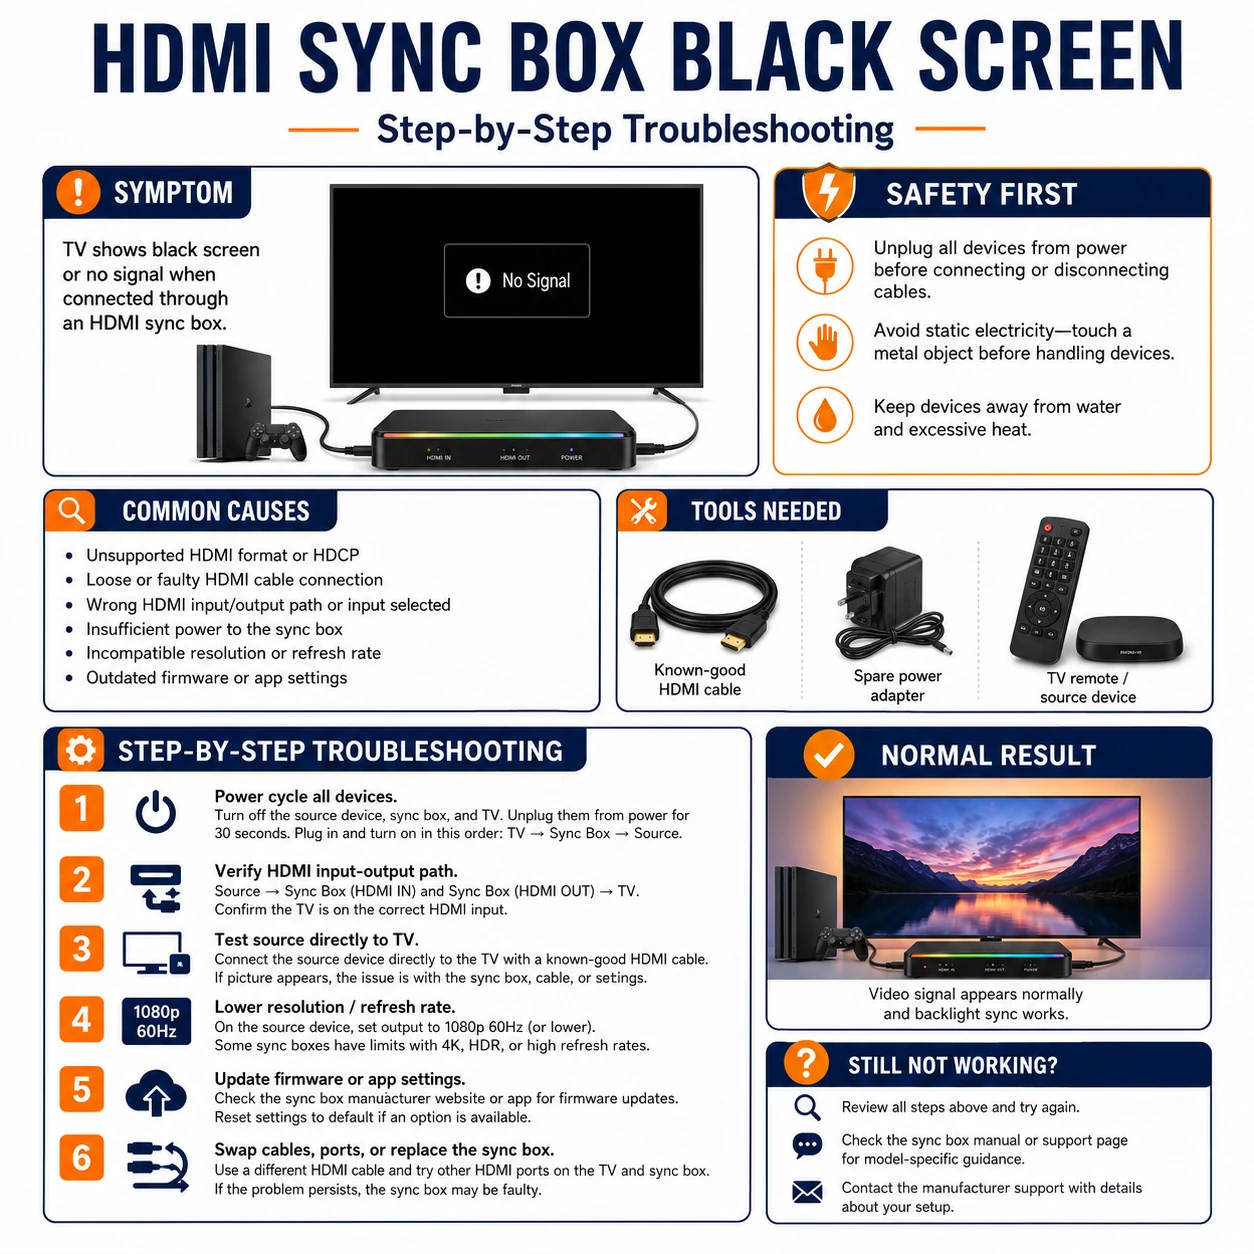
Prepare before testing
- The source and TV's own menus — resolution, refresh, HDR and HDMI-mode settings live there
- One known-good certified HDMI cable — a single trusted cable tests both positions in the chain
- The box's app or status LEDs — input detection and firmware version reporting
- Paper for the working configuration — the final format ceiling and port layout deserve writing down
Electrically trivial — the risks are toppling equipment while reaching into cabinets and yanking cables at connector level. Pull plugs by the shell, never the wire.
Check these areas first
- HDCP handshake failure. black picture (often with sound) after power-up order confused the copy-protection chain
- Marginal cable at the bandwidth. a cable fine at 1080p drops out at 4K HDR — sparkle, flashes, or intermittent black
- Format beyond the box. 4K/120, Dolby Vision or VRR modes a mid-range box cannot pass
- Wrong routing or input. source into OUT, TV into IN, or the box's app watching the other input
- Stale firmware. boxes gain format support and handshake fixes in updates their owners never install
Diagnostic procedure
Baseline without the box, verify routing, one-cable-at-a-time, formats down then up, handshake restart in order, firmware last — six eliminations that converge on the guilty layer.
Bypass the box and prove the baseline
Connect the source straight to the same TV port with the same cables and confirm rock-solid picture and sound. This baseline splits the world: solid direct means the box or its links are guilty; unstable direct means the problem predates the box entirely — solve that first with the TV and source alone.

Reinstate the box with routing verified
Reconnect deliberately: source cable into the box's HDMI IN, box's HDMI OUT to the TV, and — on multi-input boxes — the app or front panel switched to the active input. Mislabeled reconnections after dusting are endemic; thirty seconds of label-reading here regularly ends the whole investigation.

Swap one cable at a time
With the trusted certified cable, replace the source-to-box link first and test; then move it to the box-to-TV position and test again. Marginal cables fail positionally — the longer or older run usually cracks first at 4K bandwidths. Whichever position stabilizes with the good cable has named its victim; retire it rather than demoting it to a drawer.

Step formats down, then find the ceiling
Set the source temporarily to 1080p/60, SDR, standard HDMI mode. Stability there means the physical chain is fine and a format was the killer: restore settings upward one at a time — 4K, then HDR, then high refresh — testing each. The last stable rung is the chain's honest ceiling; note which upgrade breaks it.

Cold-restart the handshake in order
Unplug TV, box and source from power for thirty seconds. Repower in sequence — TV first, box second, source last — waiting for each to fully boot. This rebuilds the HDCP chain from the display outward and clears the wedged-handshake state behind most sudden black screens on previously working setups.

Update firmware and check the compatibility list
On a chain that still fails or caps below advertised capability: update the box's firmware via its app, then check the maker's compatibility notes for your exact formats — some boxes pass Dolby Vision only in specific modes, or need a setting for 4K/120. A box that cannot pass your required format at any firmware is mismatched to the setup, not broken.

Why the black screen loves power-on order
HDCP authenticates every link in the chain outward from the display, and it re-authenticates on wake, input switches and some app launches. A box waking after the source, or a TV switching inputs mid-handshake, can leave one link unauthorized — picture gone, sound often surviving, everything 'connected'. Setups that misbehave weekly usually have an aggressive quick-start mode on one device: disabling it, or adopting a fixed remote-order habit (TV, box, source), converts a recurring séance into a stable chain. CEC helps some setups by waking everything together and hurts others by switching inputs uninvited — toggle it as one experiment, not a religion.
Accept, route around, or upgrade
If elimination lands on a format the box simply cannot pass, three honest options exist. Accept the ceiling and run the source a step below maximum — often visually indistinguishable in a living room. Route around: put the demanding source straight into the TV and let the box sync a different input, trading sync on one device for fidelity on it. Or upgrade the box to one certified for the chain's full bandwidth. What never works is leaving a box mid-chain and re-fighting the handshake nightly in hope — HDMI does not mellow with time.