
Water management beats water resistance
Ratings like IP44 or IP65 describe a fresh product on a bench, sprayed from defined angles. A real install adds gravity and time: rain tracks along a catenary of cable and arrives at every joint, connectors sag into puddle positions, and UV stiffens sheaths until they crack at the first frost. The difference between a set that lasts one season and five is rarely the rating — it is drip loops, downward-facing joints, and boxes mounted where water leaves instead of stays.
The electrical safety layer is separate and non-negotiable: any mains-fed outdoor lighting belongs on a residual-current protected circuit (RCD/GFCI — the socket or breaker with a test button). It is the device that turns 'water got in' from a shock hazard into a nuisance trip, and testing it takes ten seconds a season.
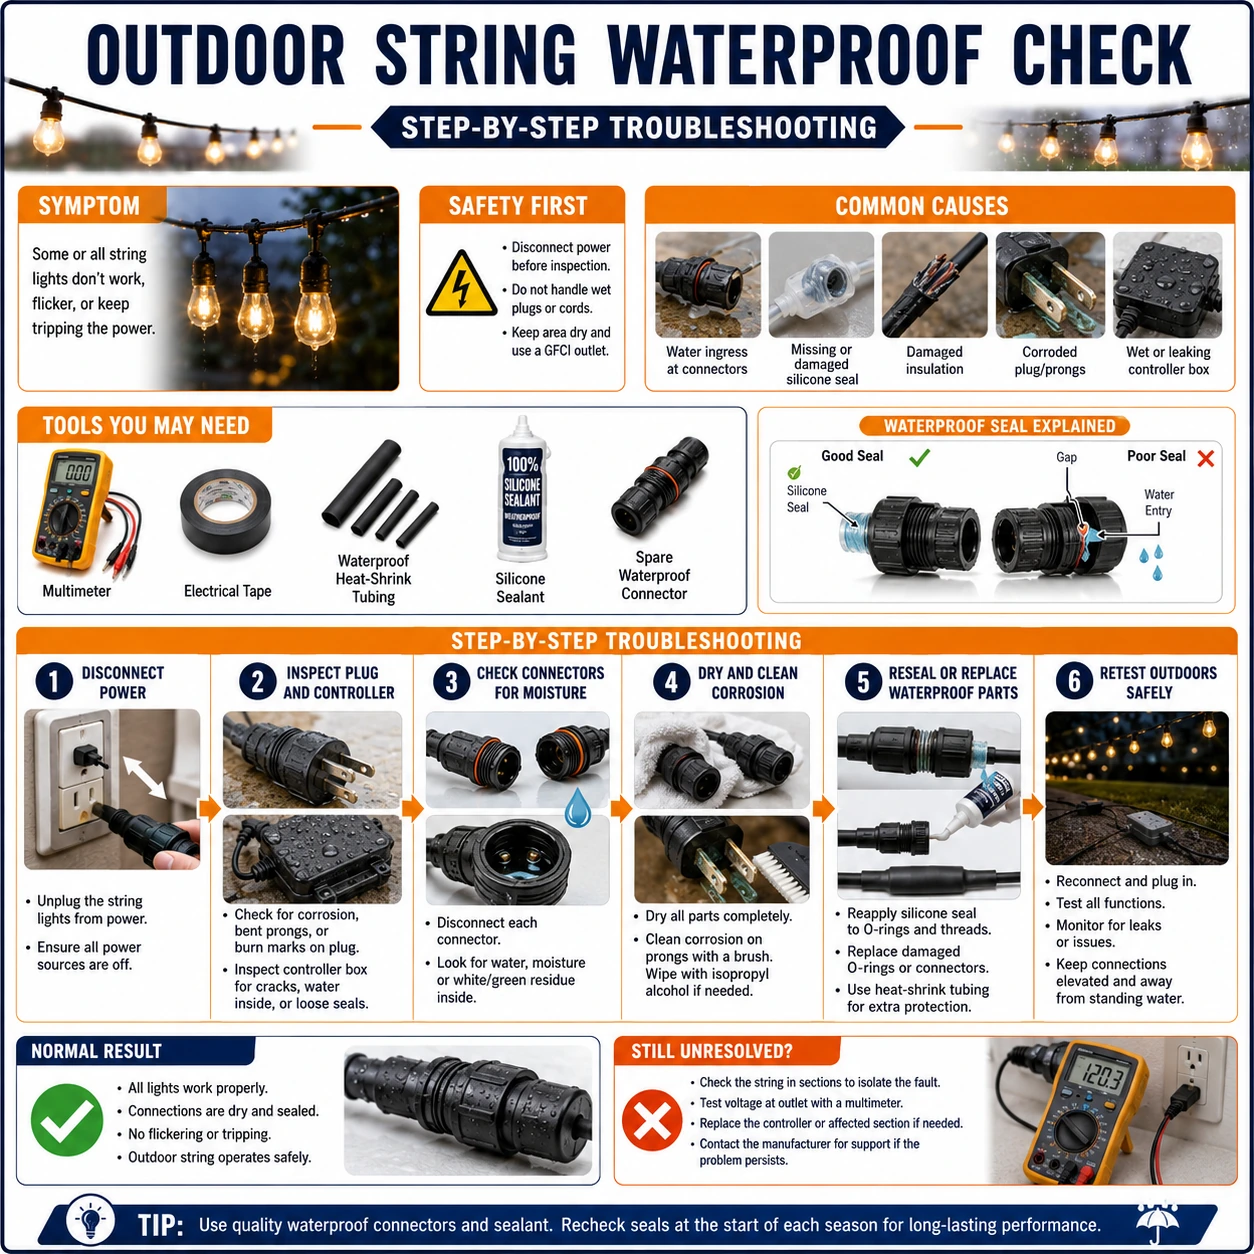
Prepare before testing
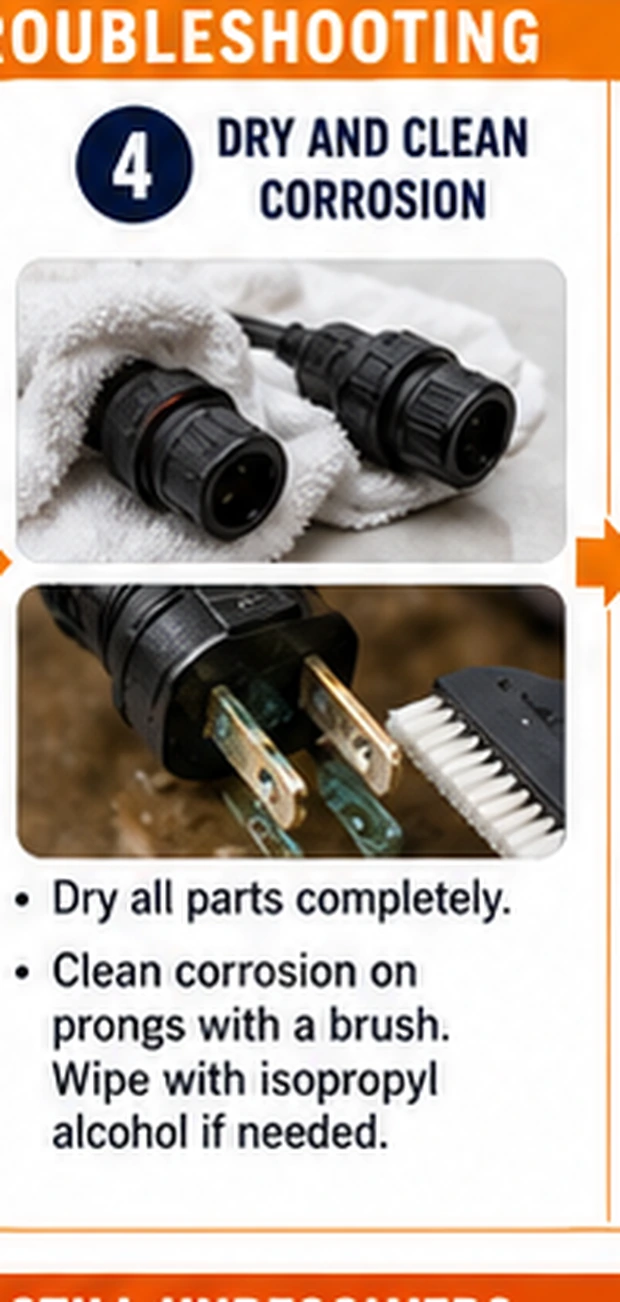
- Isopropyl alcohol and a soft brush — cleans early green corrosion from low-voltage contacts
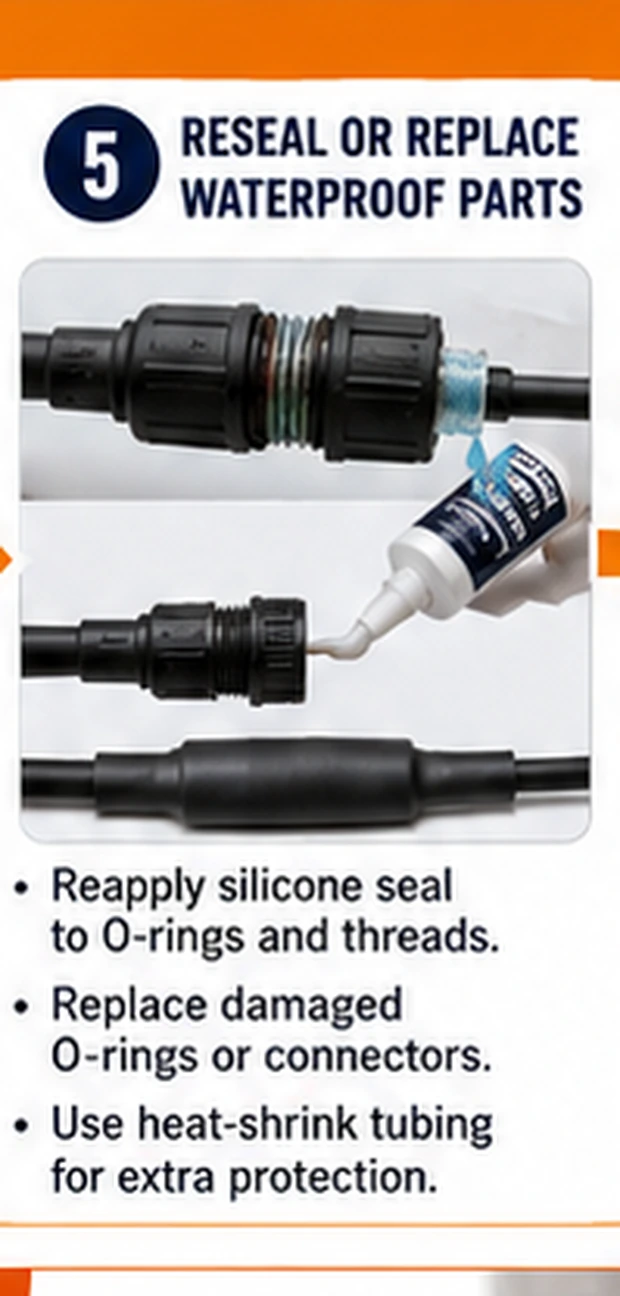
- Silicone sealant and self-amalgamating tape — re-seals connector shells and closes abandoned entry points
- Cable clips and UV-rated zip ties — re-dressing runs so water drips off mid-span, not into joints
- Spare gaskets or O-rings for connector shells — flattened gaskets are the most common leak, and the cheapest fix
Unplug before opening any box or shell. A mains set showing water inside its plug, transformer or controller is done for the day — dry and inspect before it ever sees power again, and if scorched, permanently.
Check these areas first
- Water tracking along cables into boxes. cable acts as a rail; without a drip loop every joint downhill collects the run-off
- Connector shells facing up or lying in puddles. orientation decides whether a sealed shell sheds or marinates
- Flattened gaskets and cross-threaded shells. last season's reassembly compromises this season's seal
- UV-hardened, cracked sheathing. south-facing runs crack first at staples and tight bends
- Corrosion inside low-voltage plugs. green bloom raises resistance, dims sections, then opens the circuit
Diagnostic procedure
One dry afternoon covers it: isolate, open and inspect the boxes, walk the cable, clean the low-voltage side, rebuild every joint with gravity in mind, then prove the RCD.
Unplug and stage the inspection dry
Choose a dry day, unplug the set, and bring the supply end — plug, timer, transformer, controller — somewhere you can open it over a bench. Water evidence evaporates; inspecting within a day of rain shows you the truth, inspecting after a dry week shows you tide marks only if you look for them.
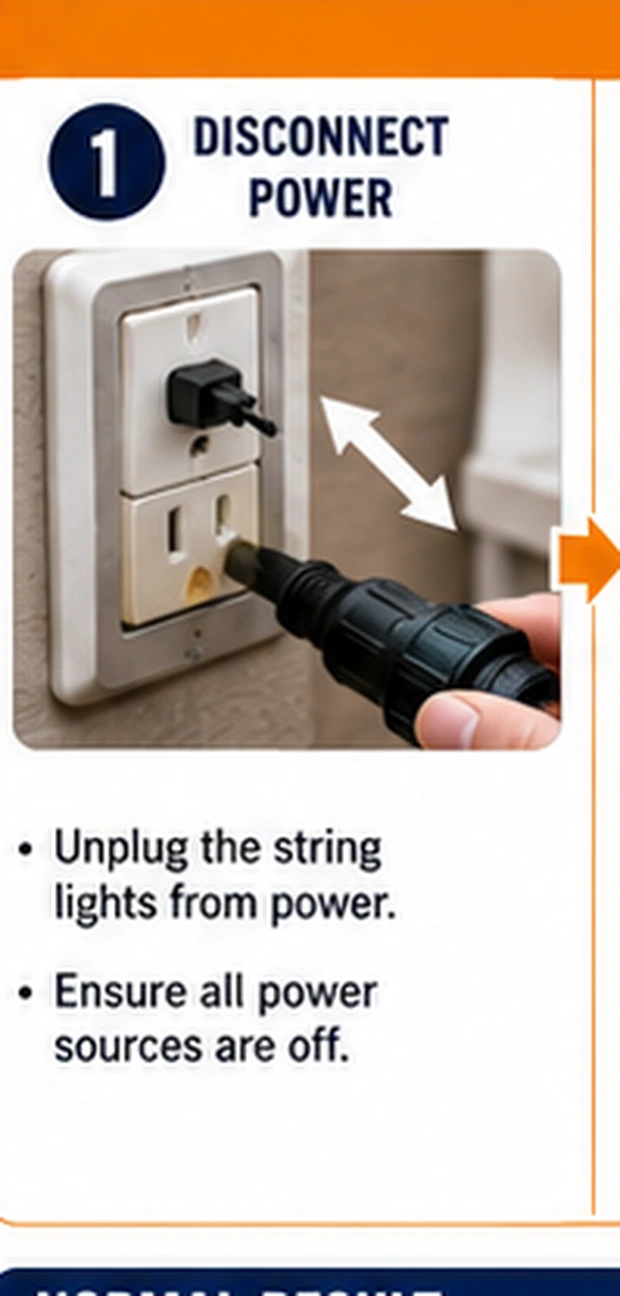
Open and read the boxes
Open the transformer and controller enclosures and read the history: droplets or fog now, white or green mineral tide marks from before, browned board areas from tracking current. Clean mild residue on low-voltage boards with alcohol; any scorching, or moisture inside a mains enclosure, retires that component regardless of how it behaved yesterday.
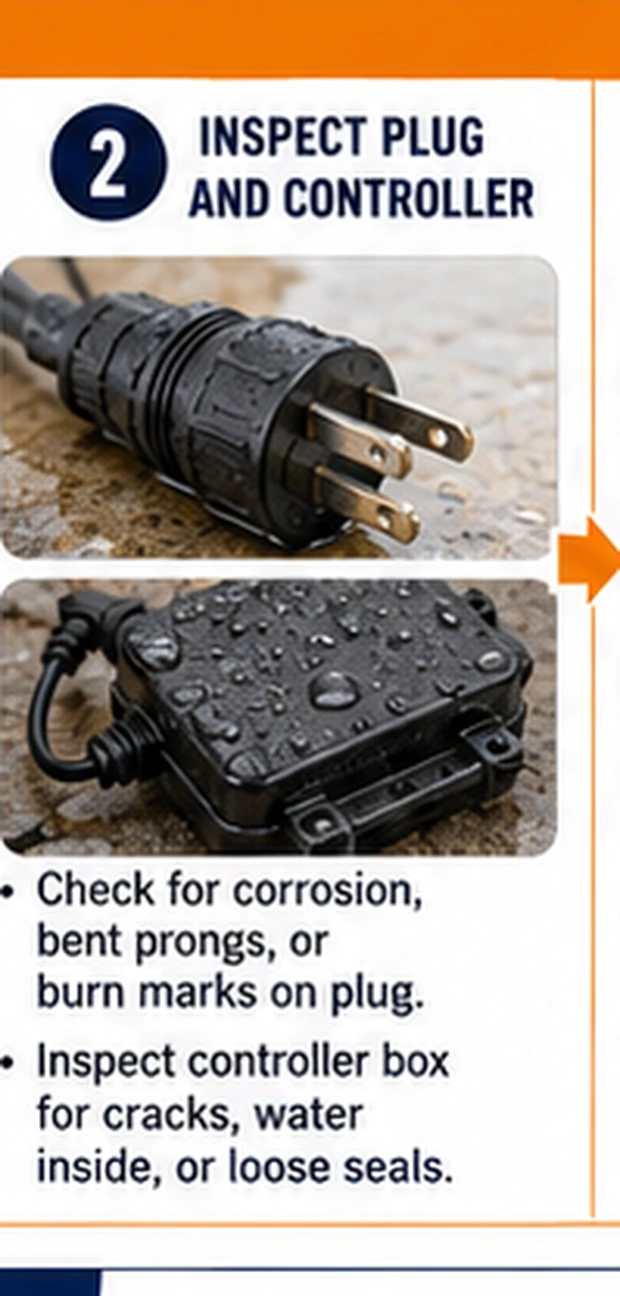
Walk the full cable run
Follow every meter with your fingers: cuts from trimming tools, crush marks at gate hinges, animal chew, staples driven through the sheath, and hardened cracking sections on the sun side. Flex suspect spots gently — sheath damage that gapes open under a light bend has already let water in.
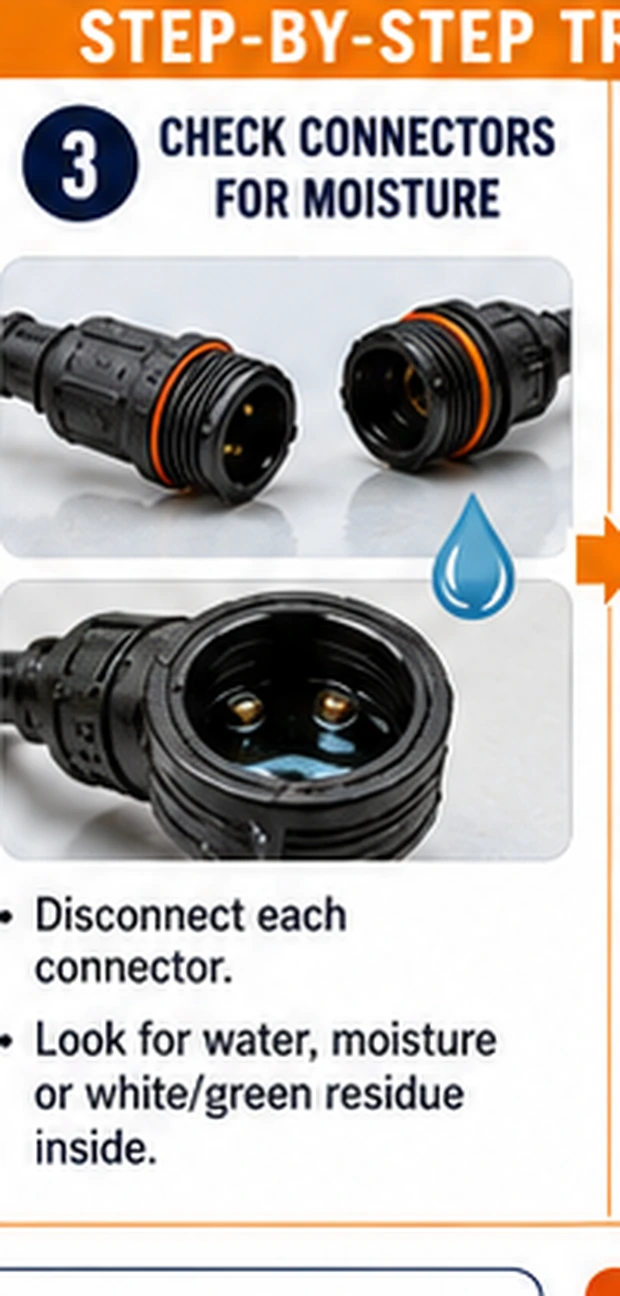
Clean and dry the low-voltage side
For adapter-fed sets, open each downstream connector and inspect pins: light green bloom cleans off with alcohol and a brush, deep corrosion or pitted pins call for cutting back to clean wire and fitting new connectors. Dry everything thoroughly — sealing moisture inside a joint is how this list gets longer next year.
Rebuild every joint with a drip loop
Reassemble each connector with its gasket seated (replace flattened ones), threads straight, and the shell aimed down or sideways — never up. Dress the cable so each joint hangs at the top of a small U: water tracking the cable reaches the loop's bottom and drips off before the joint. Seal abandoned holes and staple wounds with self-amalgamating tape.
Test the RCD and do a wet-weather check
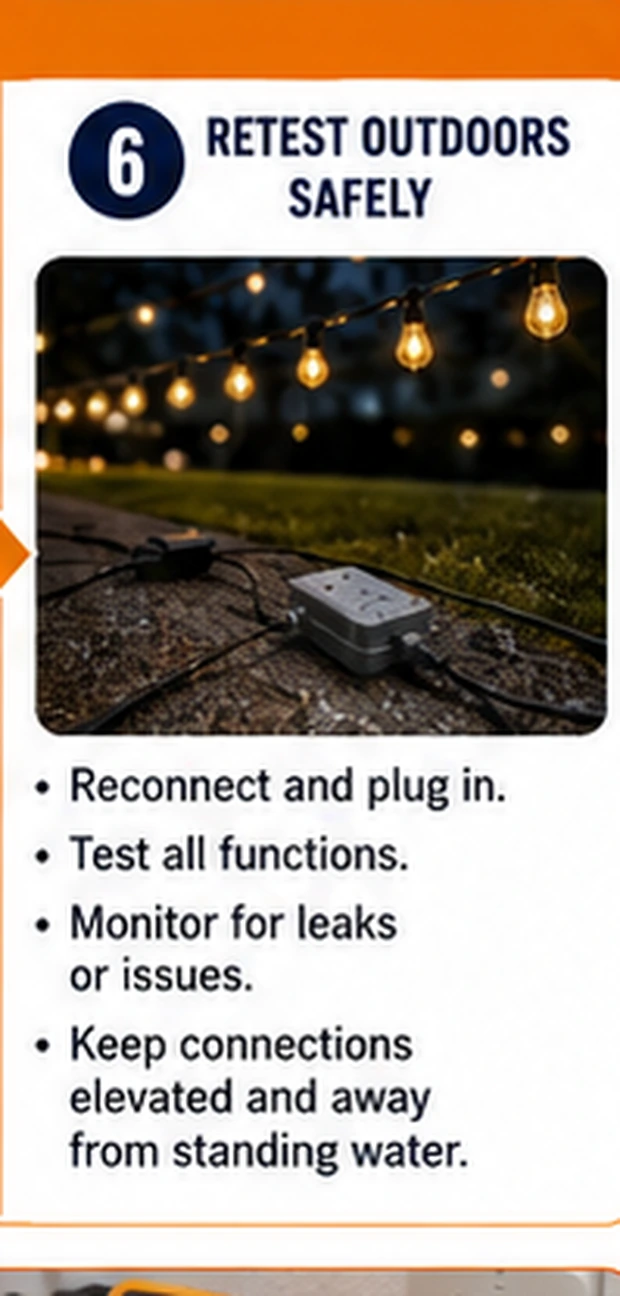
Plug into an RCD-protected socket and press its test button — it must trip and reset crisply. Power the set, then revisit during the first real rain: look for glowing connectors misted from inside, sections dimming, or nuisance trips. A set that passes its first storm dressed like this usually passes the season.
The ten-second test that carries the whole risk
Residual-current protection watches for current leaking to earth — exactly what happens when water bridges a damaged outdoor cable — and disconnects in milliseconds, faster than a dangerous shock develops. Outdoor sockets in most modern installations are RCD-protected, but the protection ages: press the test button at the season's start and after any trip. A set that trips the RCD repeatedly is reporting real leakage; find the wet joint or damaged span instead of moving to an unprotected socket, which is the one genuinely dangerous 'fix' available.
Storage is half the waterproofing
What survives the garden dies in the shed: sets packed wet grow corrosion all summer, and sets packed tight crack their sheaths for next year's leaks. Take sets down dry, leave shells connected (mated connectors keep their gaskets compressed and clean), coil loosely, and store off the floor. The spring difference between a five-minute hang and an afternoon of this guide is mostly decided in autumn.